📫 How to set up custom email domain with iCloud and Cloudflare
As a part of your digital identity, you may want to use a custom domain for your personal email address. In this article I'll show you how to easily set up email receiving and sending without breaking a bank.
Why do I need a custom email domain in the first place?
- Most importantly a custom domain keeps you independent from any particular email vendor (e.g. Gmail, Yahoo, etc). You keep your address as long as you keep your domain active and configure your MX records accordingly. Switching to a new vendor is a matter of importing existing emails and changing DNS records.
- Let's be honest, it just looks cool to have an email address like firtsname@lastname.com instead of username@gmail.com.
- If you are running a small business, it looks more professional and consistent to use your own domain.
OK, how do I do this?
The simplest way to go is to use iCloud+ as it starts at $0.99 but you might be already paying for this if you keep your backups there.
Let's go!
1. Register your domain 🌎
First things first, you'll need to register a domain if you haven't already. You can do this through any domain registrar like GoDaddy, Porkbun, or even Cloudflare itself.
2. Add the domain to iCloud ☁️
Log in to your iCloud account and choose Custom Email Domain from the Quick Access menu on top:
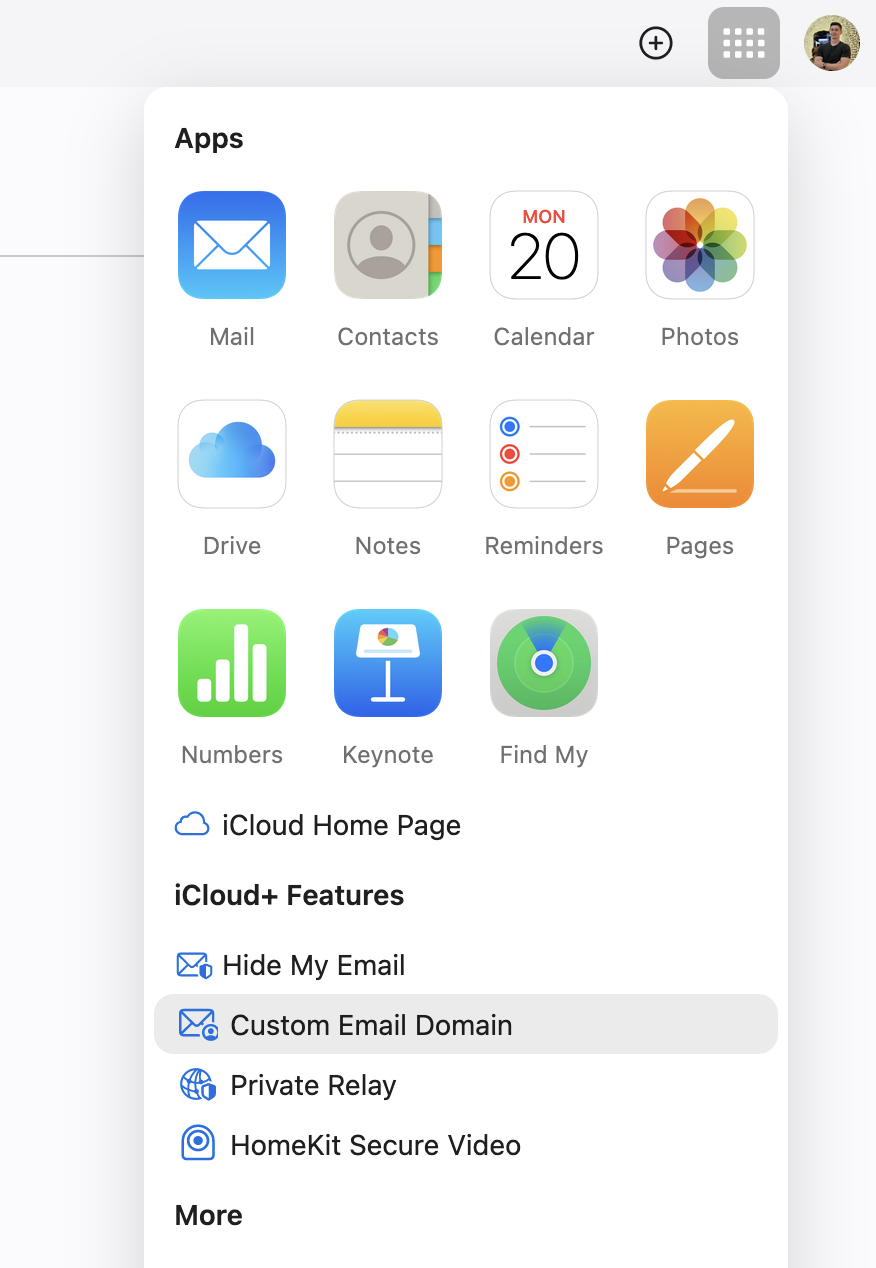
You can choose to Add a domain you own or Buy a new domain if you haven't done it yet in the first step.
I suggest using You and other people in the next step to allow your family members to use the same domain for their email addresses. Sharing is caring 🤗.
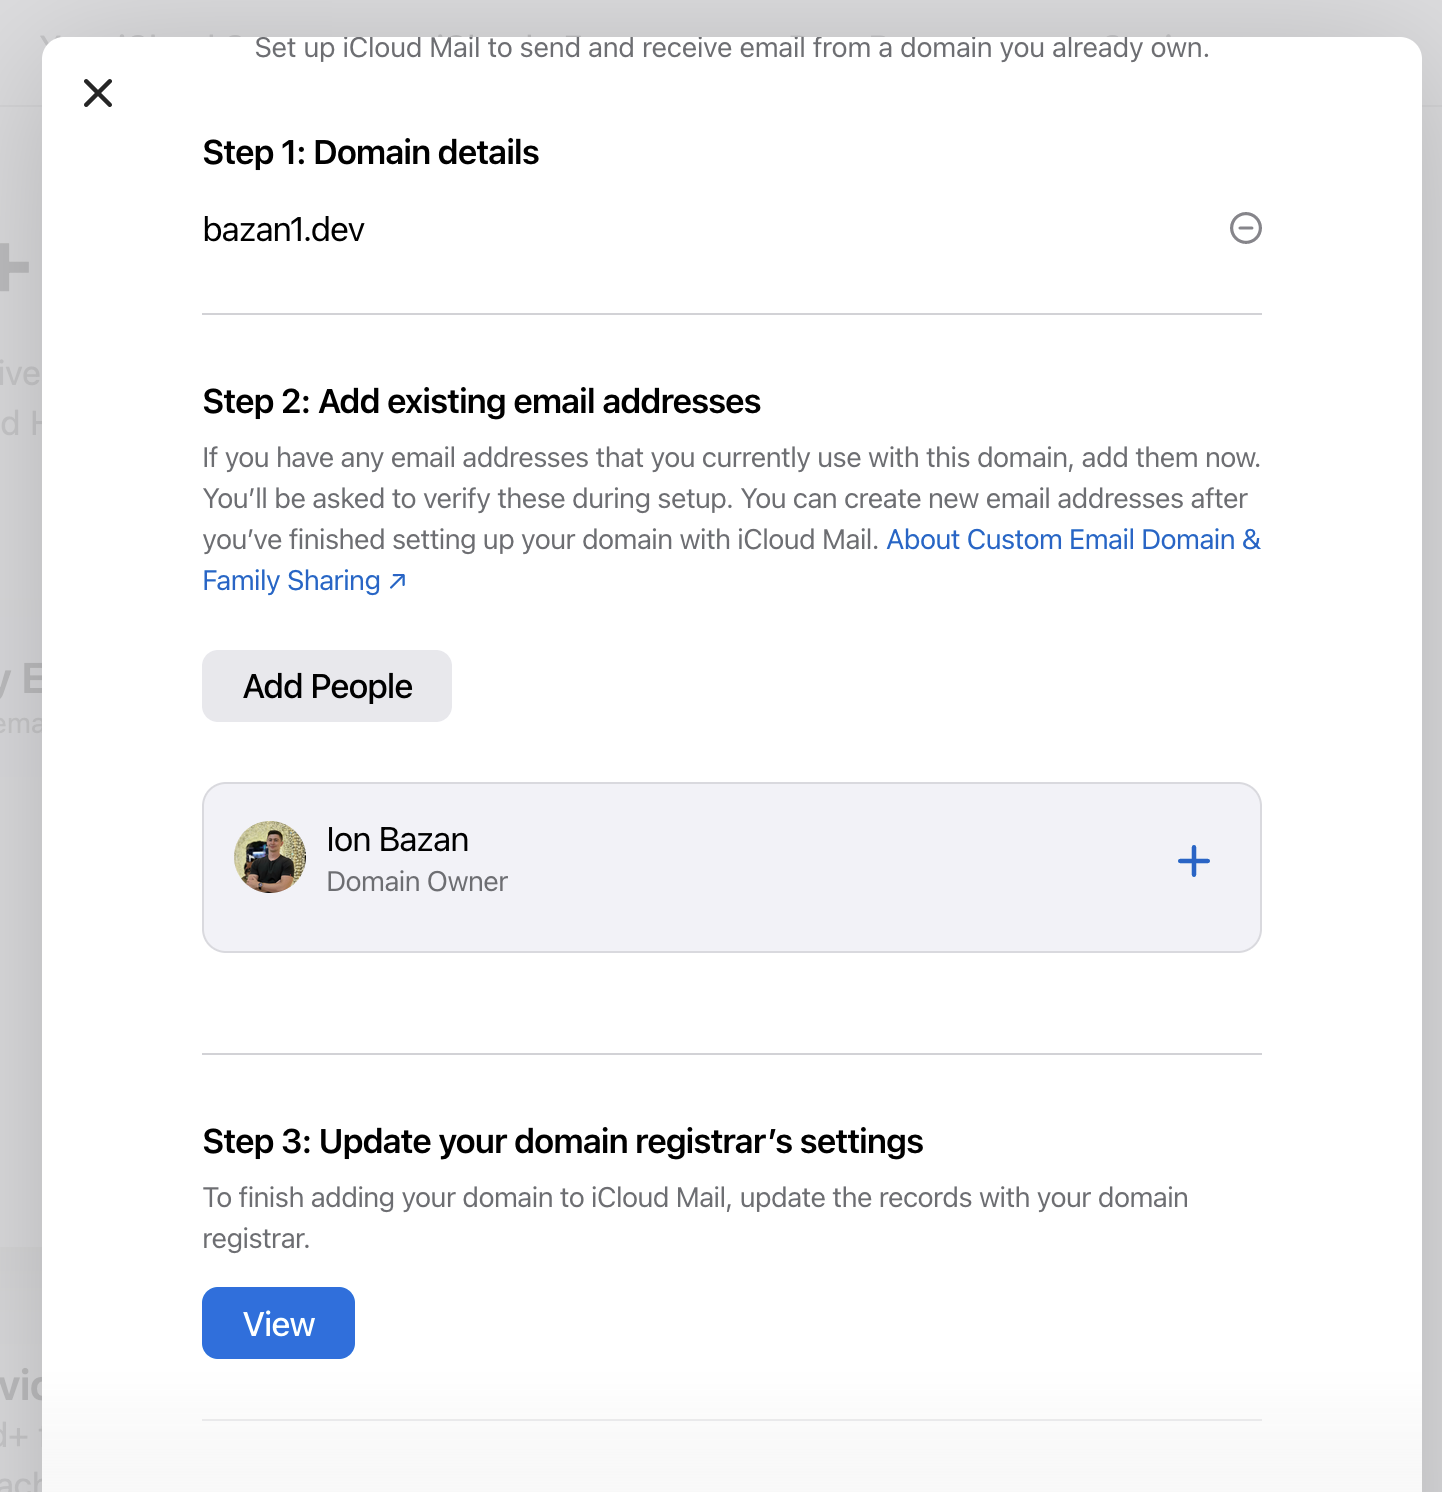
Click View in Update your domain’s records section to get your DNS settings.
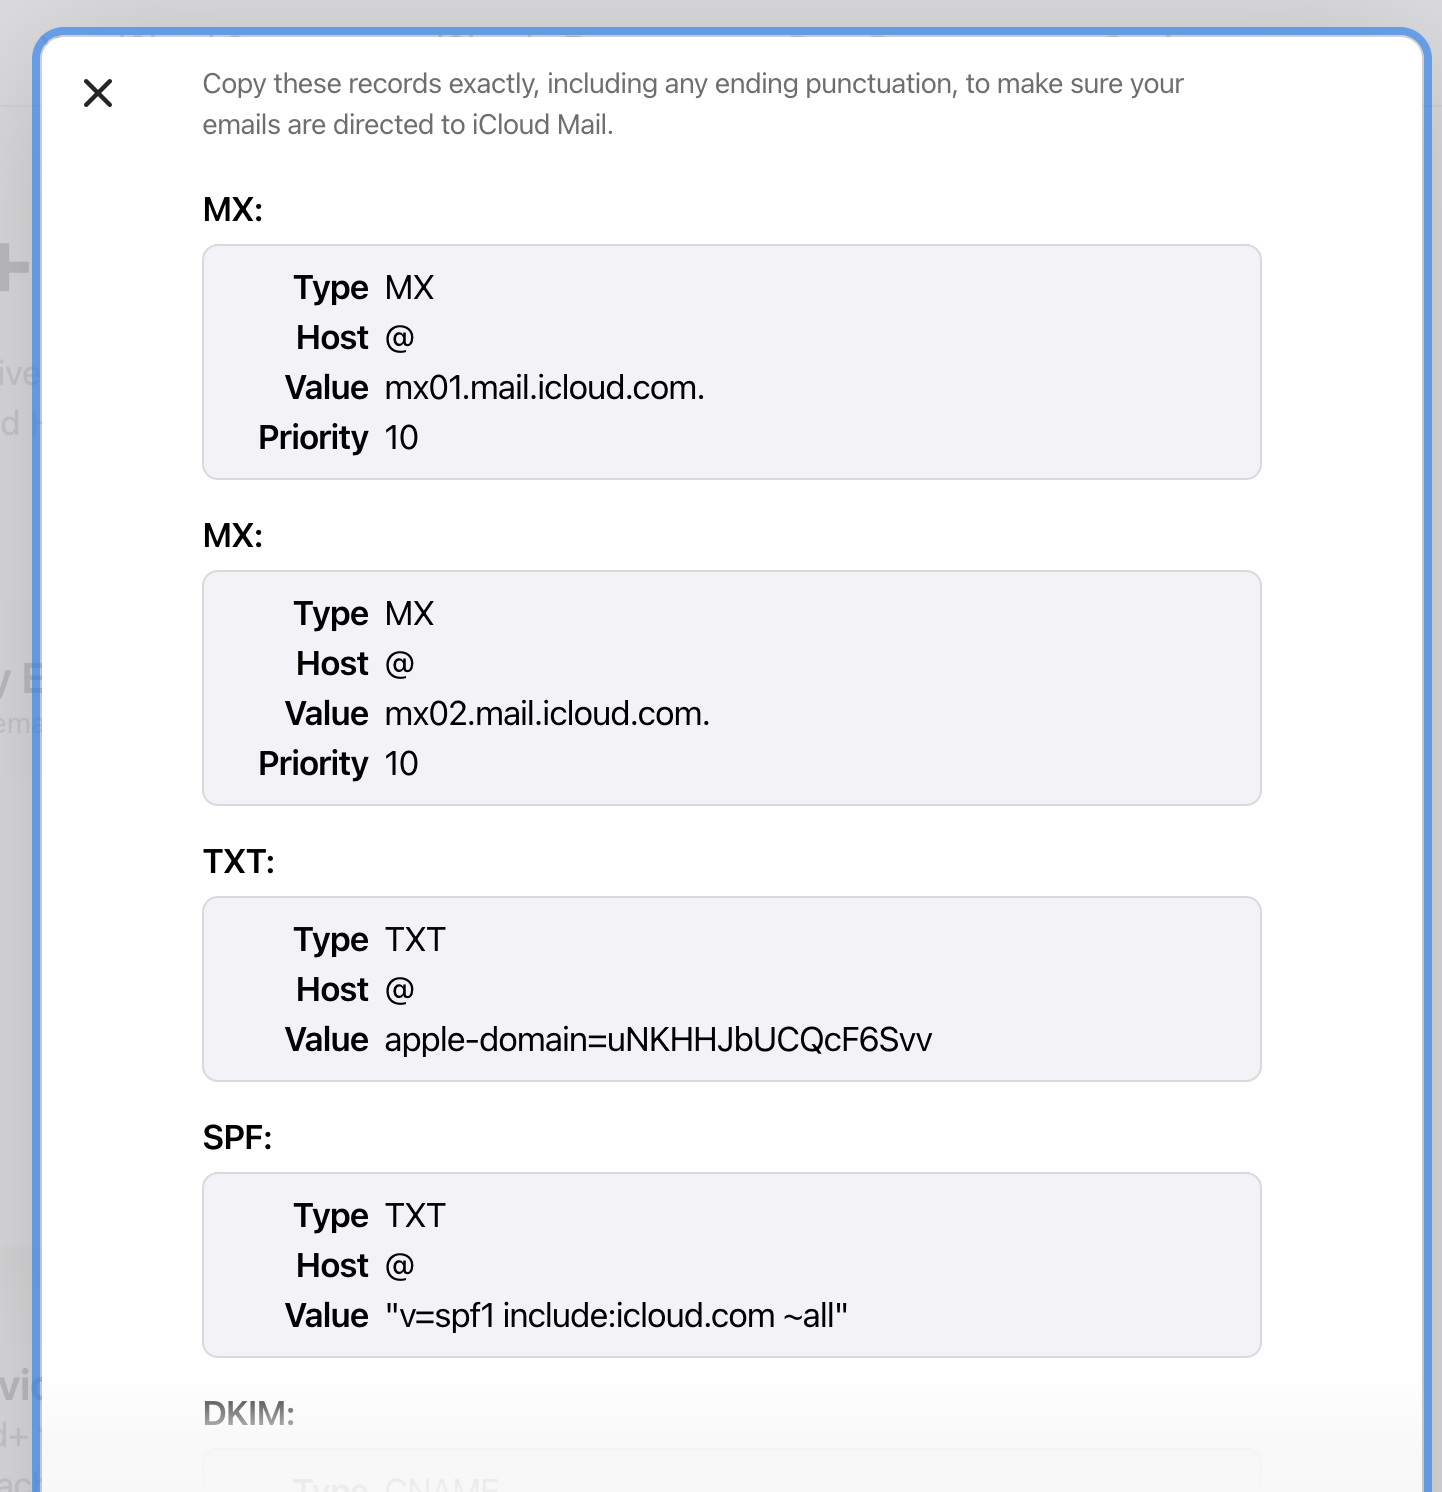
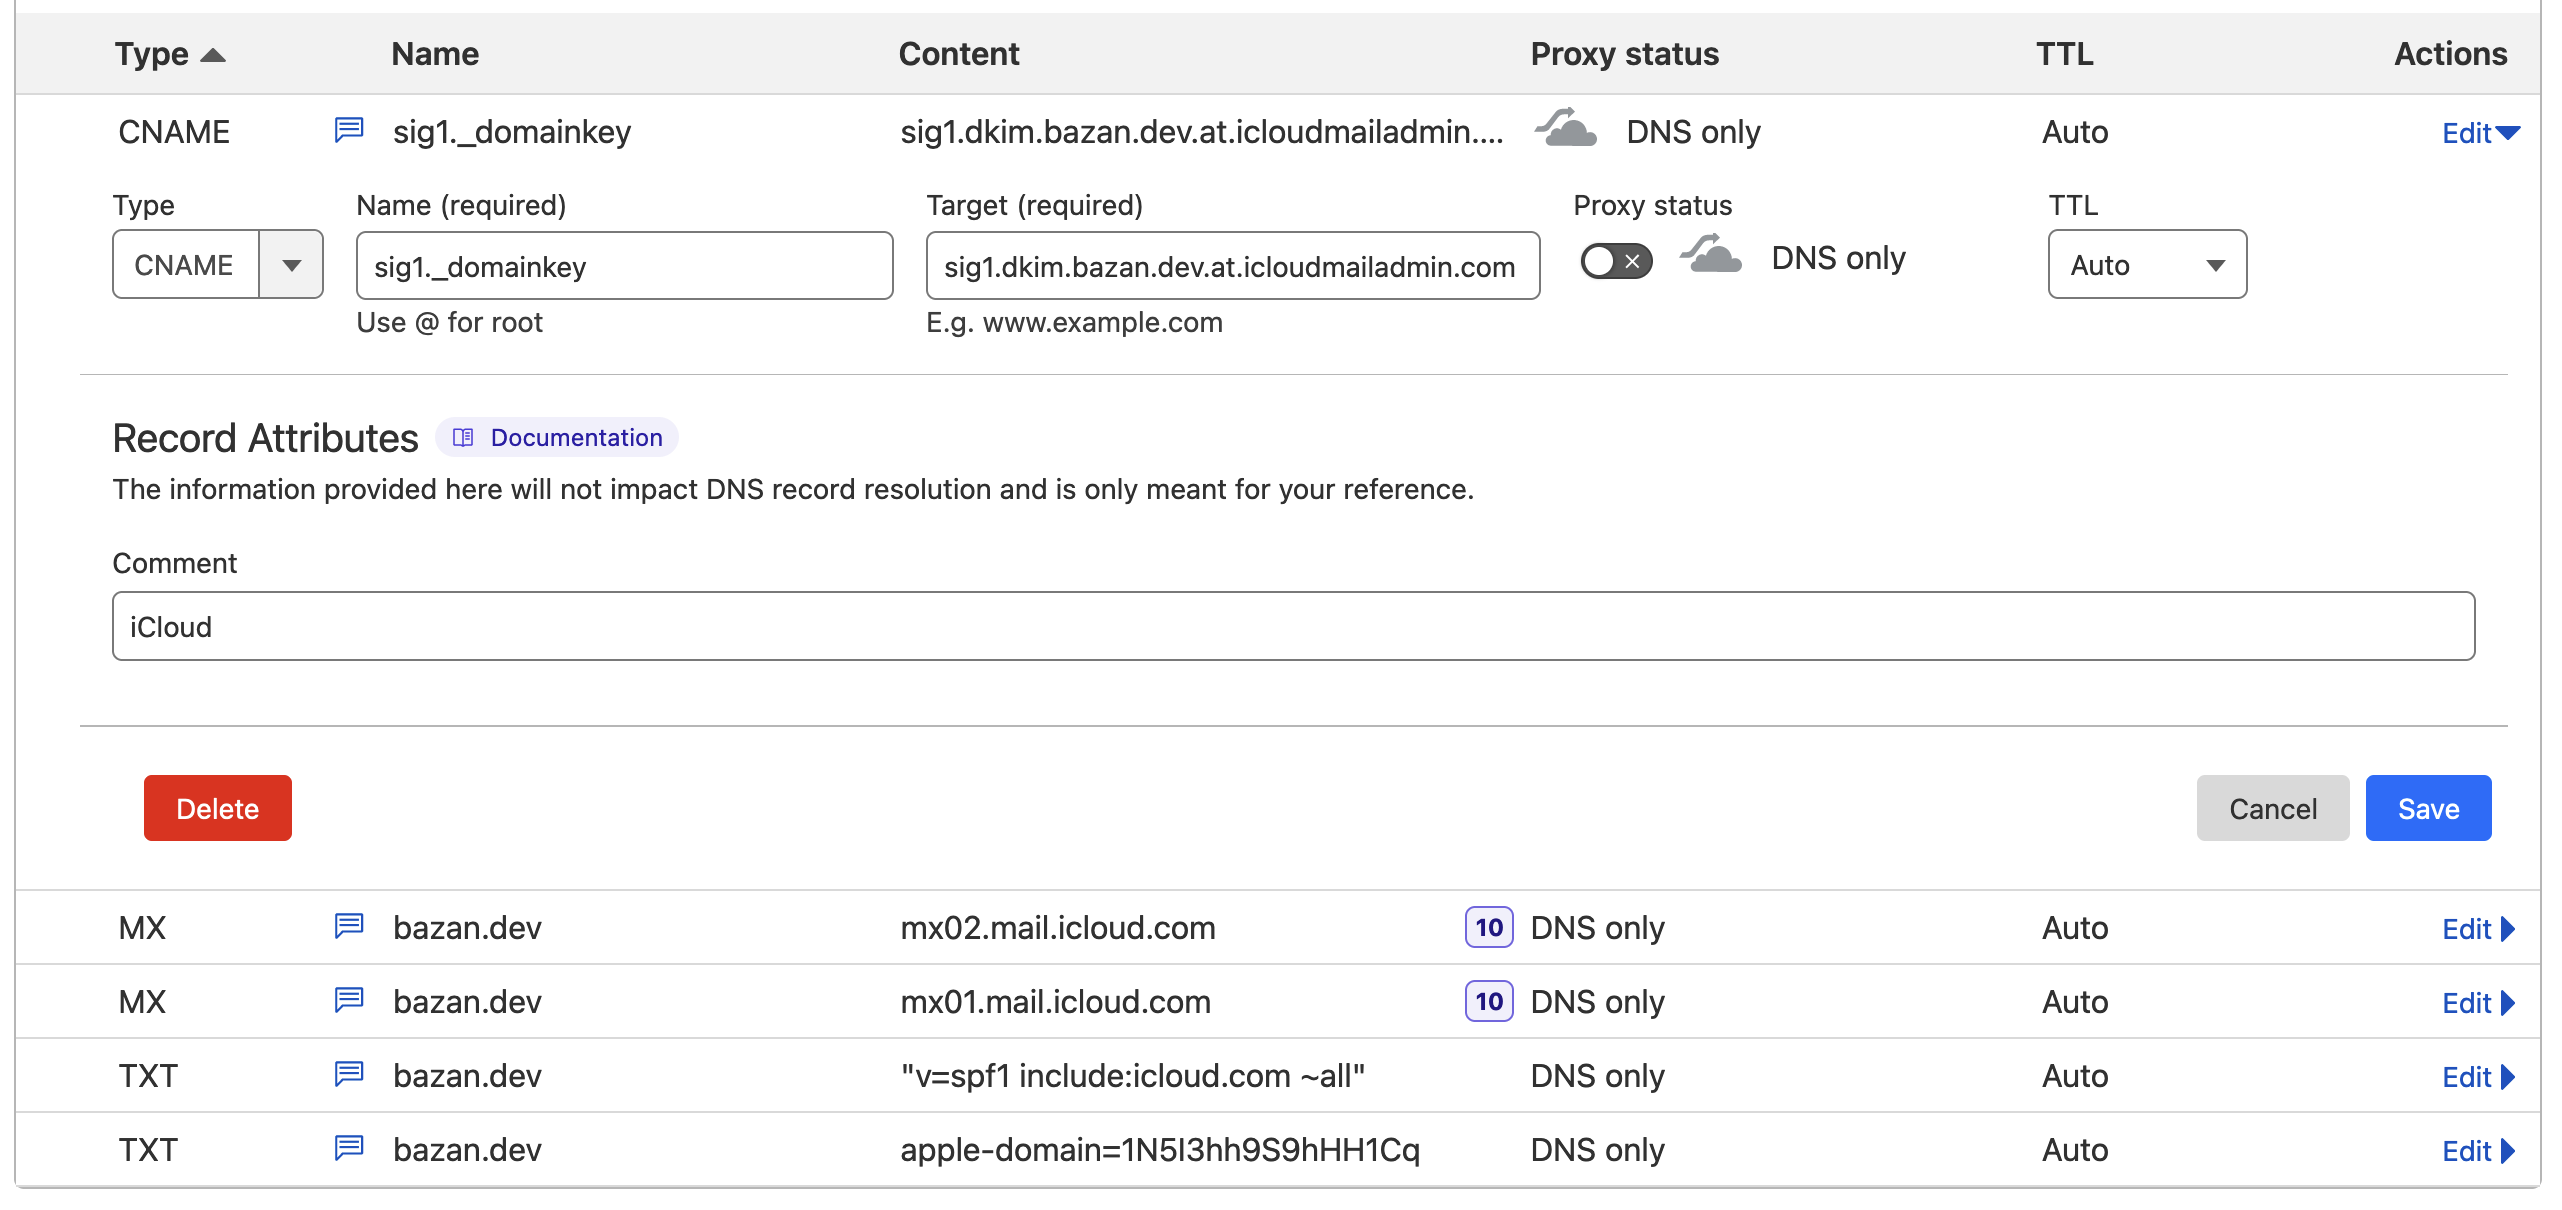
3. Update your DNS records 🛠️
✨ Copy-paste them exactly into your registrar's DNS records dashboard. If you are using Cloudflare, make sure to select DNS Only in Proxy status for the record to work correctly.
4. Finish iCloud setup ✅
After adding all necessary DNS records, give it at least a few minutes (up to 72 hours) to propagate and click Finish setup on the last page.
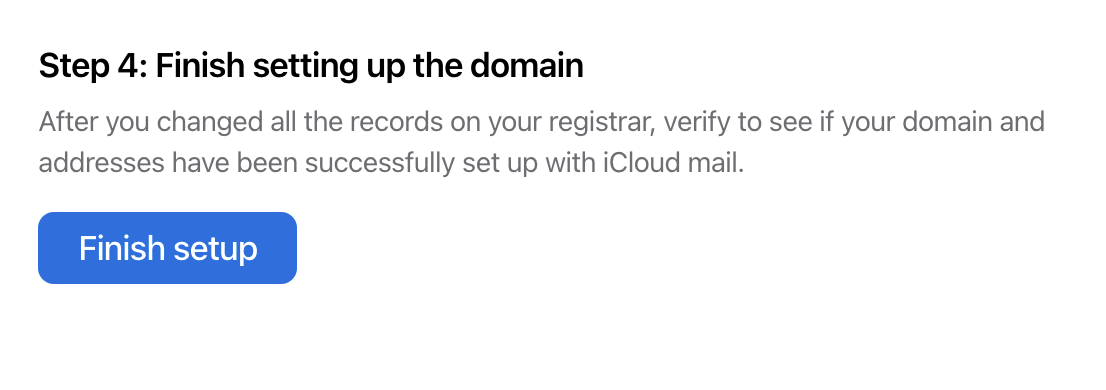
Once done, you will be able to use your custom email address to send and receive emails straight from your iPhone and Mac.
5. Start receiving (and sending) your emails 💌
To test your changes, try sending an email from your existing email address to the new custom address. If everything went good, you should be able to receive it on your iPhone.
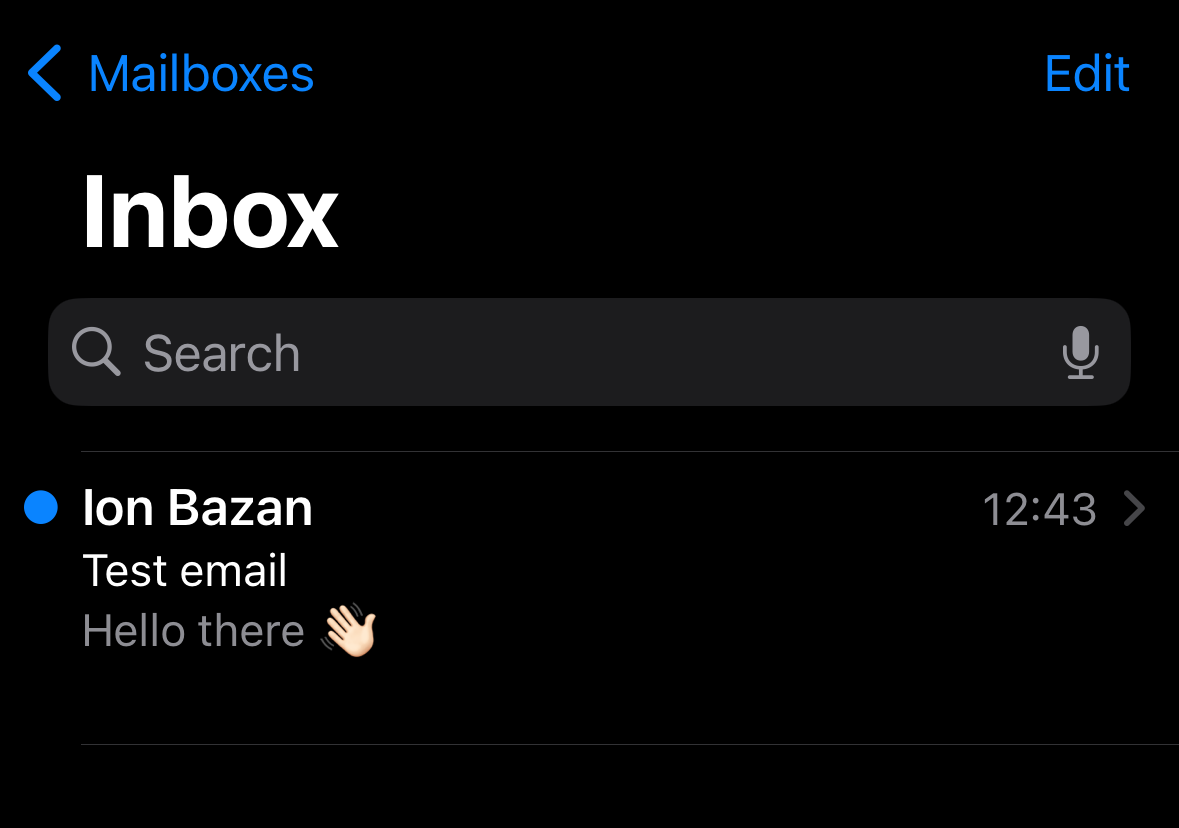
Once you received it, try replying back to make sure sending works well too.
What if I don't use Apple products?
You can try using other email providers:
- ZohoMail - $1/mo
- Fastmail - $3/mo,
- ProtonMail - €3.99/mo,
- Many many others...
Note that even if you don't own any Apple product, it could still make sense to get iCloud+ as you can access your emails and files via browser and this option seems to be one of the most affordable and easiest to set up.
What if I want it completely free?
If you don't need to send emails from your custom domain, you can opt in for Cloudflare Email Routing to redirect incoming emails to your existing personal email account (GMail, Yahoo, etc). You won't be able to use this address to send emails, but you can still reply to them with your personal address.
Summary
🚀 That was quick, right? Let me know in the comments if you like it and feel free to share any other services you use to host your emails.